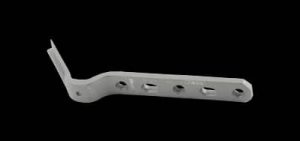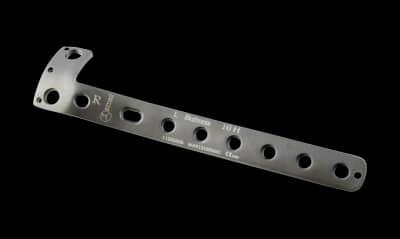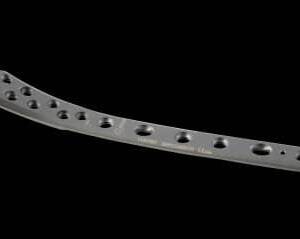
Image 1: Locking LC DCP Narrow Plate
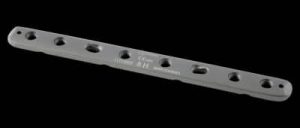
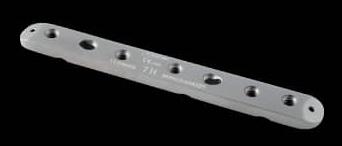
Image 2: Locking 1/3rd Tubular Plate
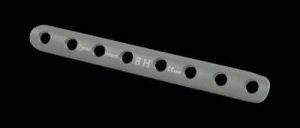
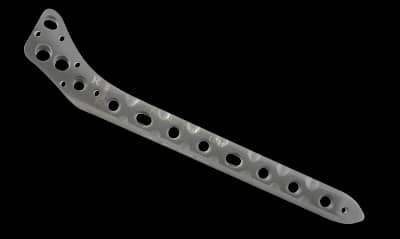
Image 3: Locking LC DCP Broad Plate
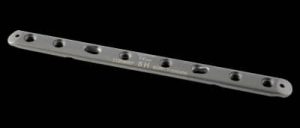
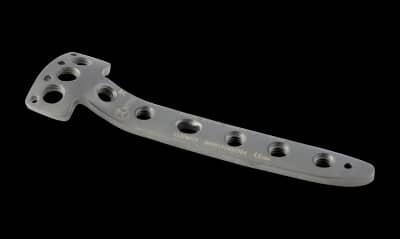
Image 4: Locking Distal Radius Plate-Volar
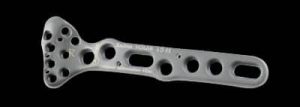
Image 5: Locking Distal Radius Plate-Dorsal
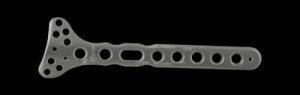
Image 6: Locking Distal Ulna Plate

Image 7: Locking Distal Lateral Humeral Plate
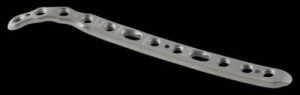
Image 8: Locking Distal Medial Humeral Plate
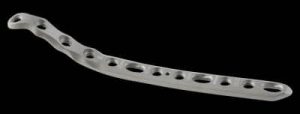
Image 9: Locking Distal Posterior Humeral Plate
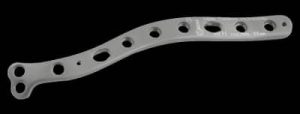
Image 10: Locking Distal Humeral Y Plate
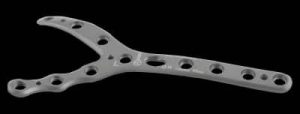
Image 11: Locking Proximal Lateral Humeral Plate
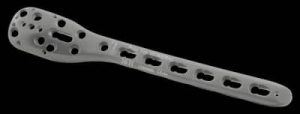
Image 12: Locking Proximal Radial Head Plate
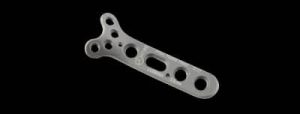
Image 13: Locking Olecranon Plate
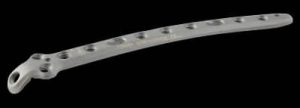
Image 14: Locking Hand Carpus Arthrodesis Plate
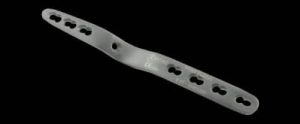
Image 15: Locking Distal Clavicle Plate
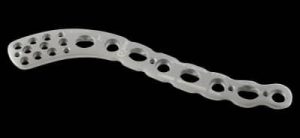
Image 16: Locking Clavicle Plate
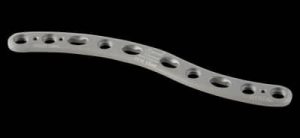
Image 17: Locking Clavicle Hook Plate
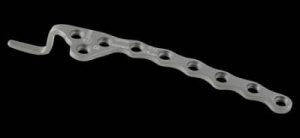
Image 18: Locking Reconstruction Plate
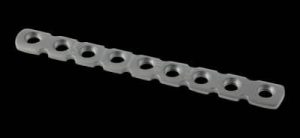
Image 19: Curved Reconstruction Plate
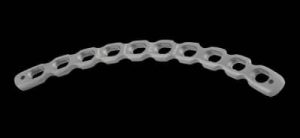
Image 20: Posterior Wall Acetabular Plate
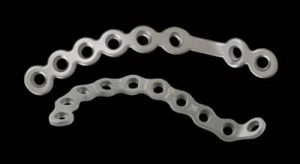
Image 21: Acetabular Hook Plates
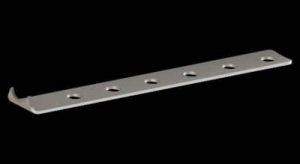
Image 22: Symphisis Pubis Pelvic Plate

Image 23: Anterior Brim Pelvic Plate
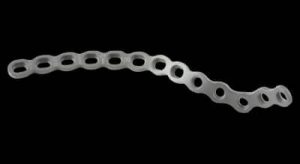
Image 24: lliopectineal Pelvic Plate
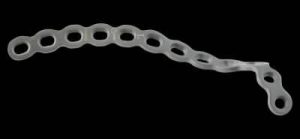
Image 25: Superior Sacroiliac Plate

Image 26: Locking Butterfly Pelvic Plate
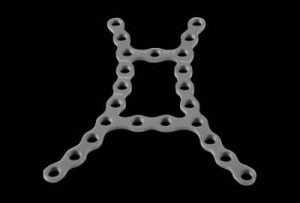
Image 27: Quadrilateral Surface Plates
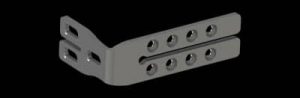
Image 28: Quadrilateral Surface T Plate
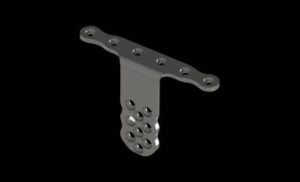
Image 29: Locking Fibula Plate
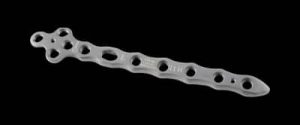
Image 30: Locking Distal Lateral Fibular Plate

Image 31: Locking Distal Fibular Plate
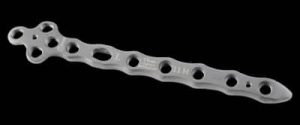
Image 32: Eight Plate

Image 33: Angled Blade Plate 90
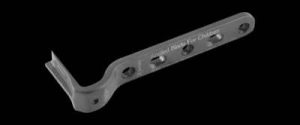
Image 34: Locking Angled Blade Plate 135